


Helen
House Bee
- Joined
- Aug 6, 2009
- Messages
- 302
- Reaction score
- 5
- Location
- uk, Suffolk
- Hive Type
- Other
- Number of Hives
- Enough
Got a few poly nucs in the sales. Never used poly nucs/hives before, so thought I would try some out.
Decided on the Maismore ones. 14x12 versions.
Decided to pimp one to see if I could improve it to better fit my needs.
1) Enabled 2-in-one capability. Added slots and divider board so can use the nuc as 2 x 3 frame nucs if needed. Required a new entrance hole on the side. Dividers required for feeder as well - both when used for syrup and for fondant.


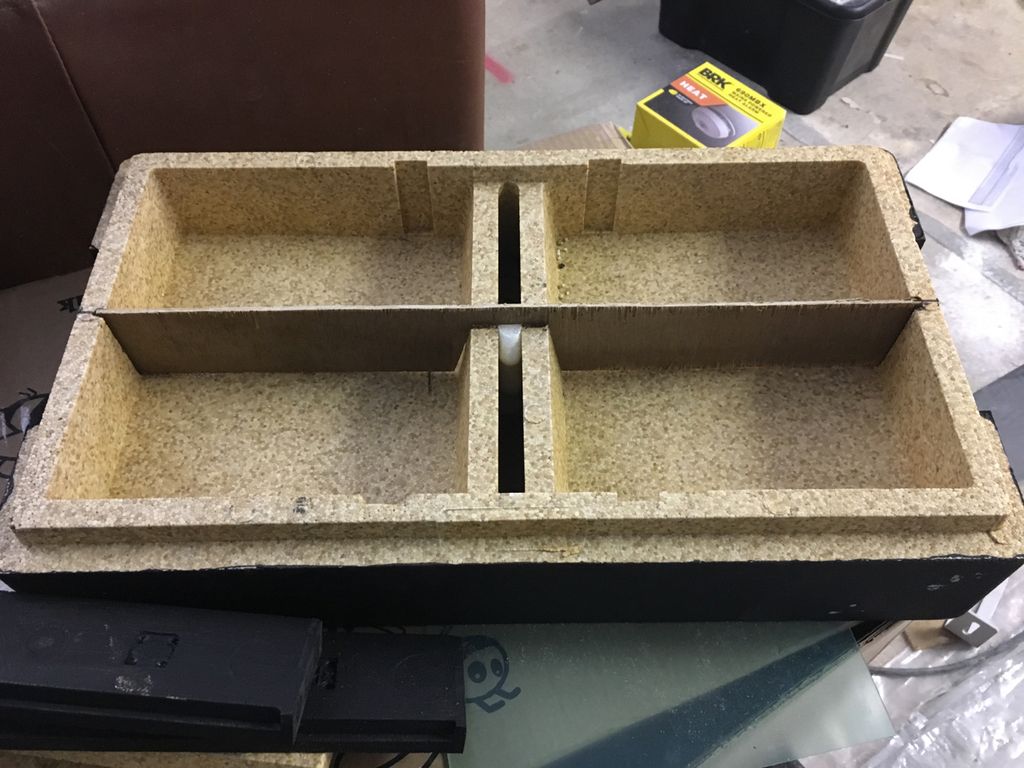

2) High-grip surface in feeder. Added sand into paint, and coated the bee area in the feeder, for better grip.

3) Wasp-defender type entrance. Used square channelling that fits in indent in front of nuc. Top 'lid' slides to left, opening or closing the entrance gap. Put in a means by which the internal 'corridor' can be stopped down, height-wise, if necessary. Added a mini landing board as well.


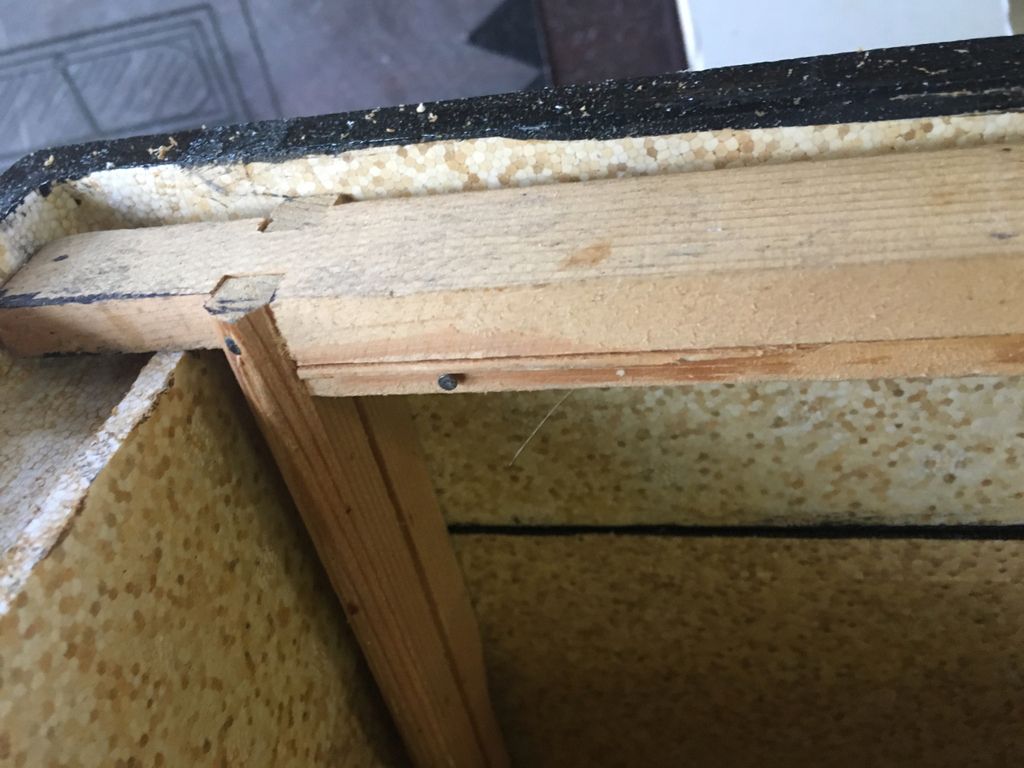
4) Top bee space. Trimmed down the frame rests as well as the level behind them, to create a top-bee space.
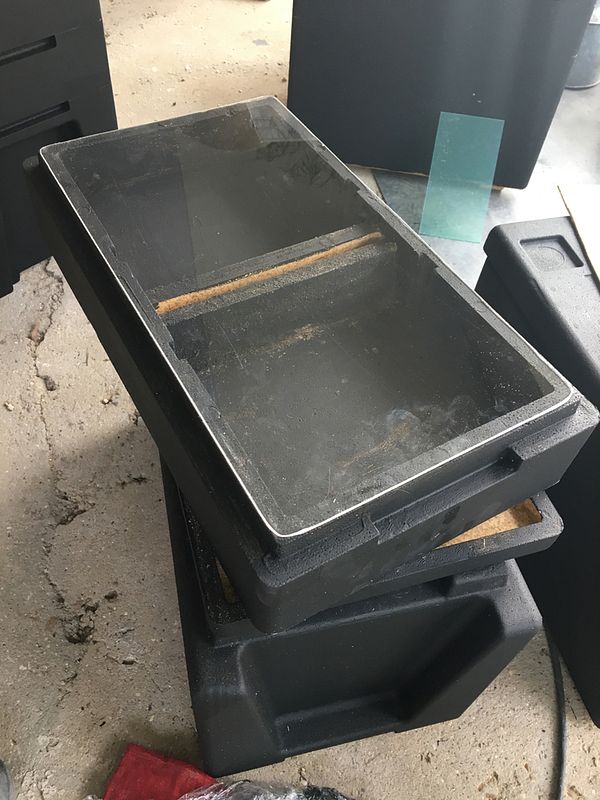
5) Removed the branding text on the lid. When I painted the lid the first time, I spent ages getting paint into all the characters in the text. Decided to sand off the whole thing, leaving a nice, flat and quickly painted surface. Don't mind the branding as such, just the pain of painting it.

6) Security. Stamped my initials/details into the top (where the original branding text was) and on the bottom.

7) Perspex crown board. 3mm clear perspex cover added.
How have you pimped your polys?
Decided on the Maismore ones. 14x12 versions.
Decided to pimp one to see if I could improve it to better fit my needs.
1) Enabled 2-in-one capability. Added slots and divider board so can use the nuc as 2 x 3 frame nucs if needed. Required a new entrance hole on the side. Dividers required for feeder as well - both when used for syrup and for fondant.


2) High-grip surface in feeder. Added sand into paint, and coated the bee area in the feeder, for better grip.

3) Wasp-defender type entrance. Used square channelling that fits in indent in front of nuc. Top 'lid' slides to left, opening or closing the entrance gap. Put in a means by which the internal 'corridor' can be stopped down, height-wise, if necessary. Added a mini landing board as well.


4) Top bee space. Trimmed down the frame rests as well as the level behind them, to create a top-bee space.

5) Removed the branding text on the lid. When I painted the lid the first time, I spent ages getting paint into all the characters in the text. Decided to sand off the whole thing, leaving a nice, flat and quickly painted surface. Don't mind the branding as such, just the pain of painting it.

6) Security. Stamped my initials/details into the top (where the original branding text was) and on the bottom.

7) Perspex crown board. 3mm clear perspex cover added.

How have you pimped your polys?
")

